Melting Away Hot Spots: Your How to Guide on Myofascial Release
Trigger points are simply knots in your muscles that form over time, and without attention, can cause dysfunction in performance, overcompensation and injury issues, along with pain and discomfort. Depending on the severity, these knots, or “hot spots” can usually be taken care of with some simple, self-massage techniques, also known as Self- Myofascial Release, or SMR. By utilizing a small ball, such as the Trigger Point Massage Ball, you can more precisely change the physiological state of the muscle tissue in the comfort of your own home or gym.
Anatomy 101
Every structure in our body is covered in an outer layer of fascia, which are simply densely packed collagen fibers which help to promote smooth movements, decrease friction and are imperative for stability and movement. When our muscular system is overstressed, the fascia develops tiny tears, and overtime, if the fascia does not heal properly, the damaged fibers adhere together and create adhesions. Often times, the body develops several severe, chronic trigger points, and this is referred to as Myofascial Pain Syndrome.
Benefits of Myofascial Release
By self-massaging the damaged fascia, you are “melting” away the adhesions, and with proper healing time, the fascia will grow back smooth and strong. Myofascial release helps to realign muscle fibers so they begin to heal properly, while also decreasing overall inflammation.
Additional benefits include:
- Physically destressing of the body
- Increases in flexibility and mobility
- Increases in blood flow allowing for faster recovery times from workouts
- Decreases in soreness and DOMS
- Improvements in overall performance
Get the Ball Rolling (See what I did there ;)
Okay, so there are several areas of the body that can benefit from SMR, particularly with a massage ball, as it more acutely targets the various hot spots in your body. Below is a brief instructional guide for some of the key areas of the body that usually accumulate hot spots.
Quick Tips: Note that once you find your hot spot[s] or trigger point[s], you will want to roll or apply pressure for 10 to 20 seconds. Make sure to avoid applying pressure on bones and joints, and utilize this therapy on a rest or active recovery day. While you may feel some discomfort, it should not be an extremely painful experience, as too much pain/pressure over-activates the nervous system. Some people also find relief in doing an abbreviated SMR session during their warm-up. Make sure to drink to plenty of water after you are done massaging!
Massage Map
-
Feet: Start at the heel and roll the ball down through your arch towards the ball of your foot. Once you feel a trigger point, make sure to apply pressure and massage the area. Make sure to also roll on both the inside and outside of the soul of your foot, as this is a common area for adhesions, or hot spots.

-
Soleus: Place the ball on a slightly elevated surface, such as foam yoga block and place your calf on the ball. You will then place your other leg on top of the leg that is on top of the ball for added pressure. Roll all the way down towards your heel and back up towards the knee, stopping and working any areas of discomfort.

-
Piriformis: Sitting on the ground, stretch one leg out straight in front of you, and place the ball on your piriformis. Bring your leg out to the side, applying pressure with the ball. Repeat on the other side.

-
Trapezius: Place the ball between the wall and your upper trapezius. Turn your body away from the wall, and then roll back towards the wall, over the ball, to find trigger points. You can also place ball between trapezius and wall, and then lift one arm straight out in front of you, applying pressure to your hot spots. Repeat on the other side.

-
Lower Trapezius/Back: Lay flat on the floor, with your head slightly elevated for comfort. Place the ball between your shoulder blades, in the `center your upper back. You can roll back and forth, applying pressure to various areas, and for added massage benefits, place arms out to side in crucifix position and hold. Then cross arms over chest, giving yourself a hug and hold. Next, place your arms straight overhead, while lying flat on the ball. Pull one arm over behind your head and hold, then repeat on the other side.

-
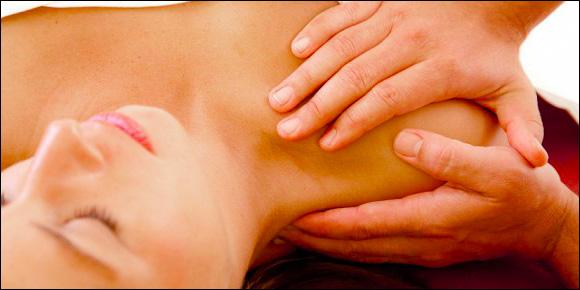
Chest: Face wall and place ball either directly on wall, or place foam yoga block on wall, and place ball on top of yoga block. Position your pectoralis major over the ball and roll, applying various pressure. You can also massage this same area by simply pressing and rolling the ball into your chest with your hand on the ball.

-
Shoulders: Shoulders can be massaged using the same technique as the chest, but simply placing the ball on the various heads of the deltoid.


Yours in Health and Fitness,